Sunday, February 19, 2012

Quarterly Check In.


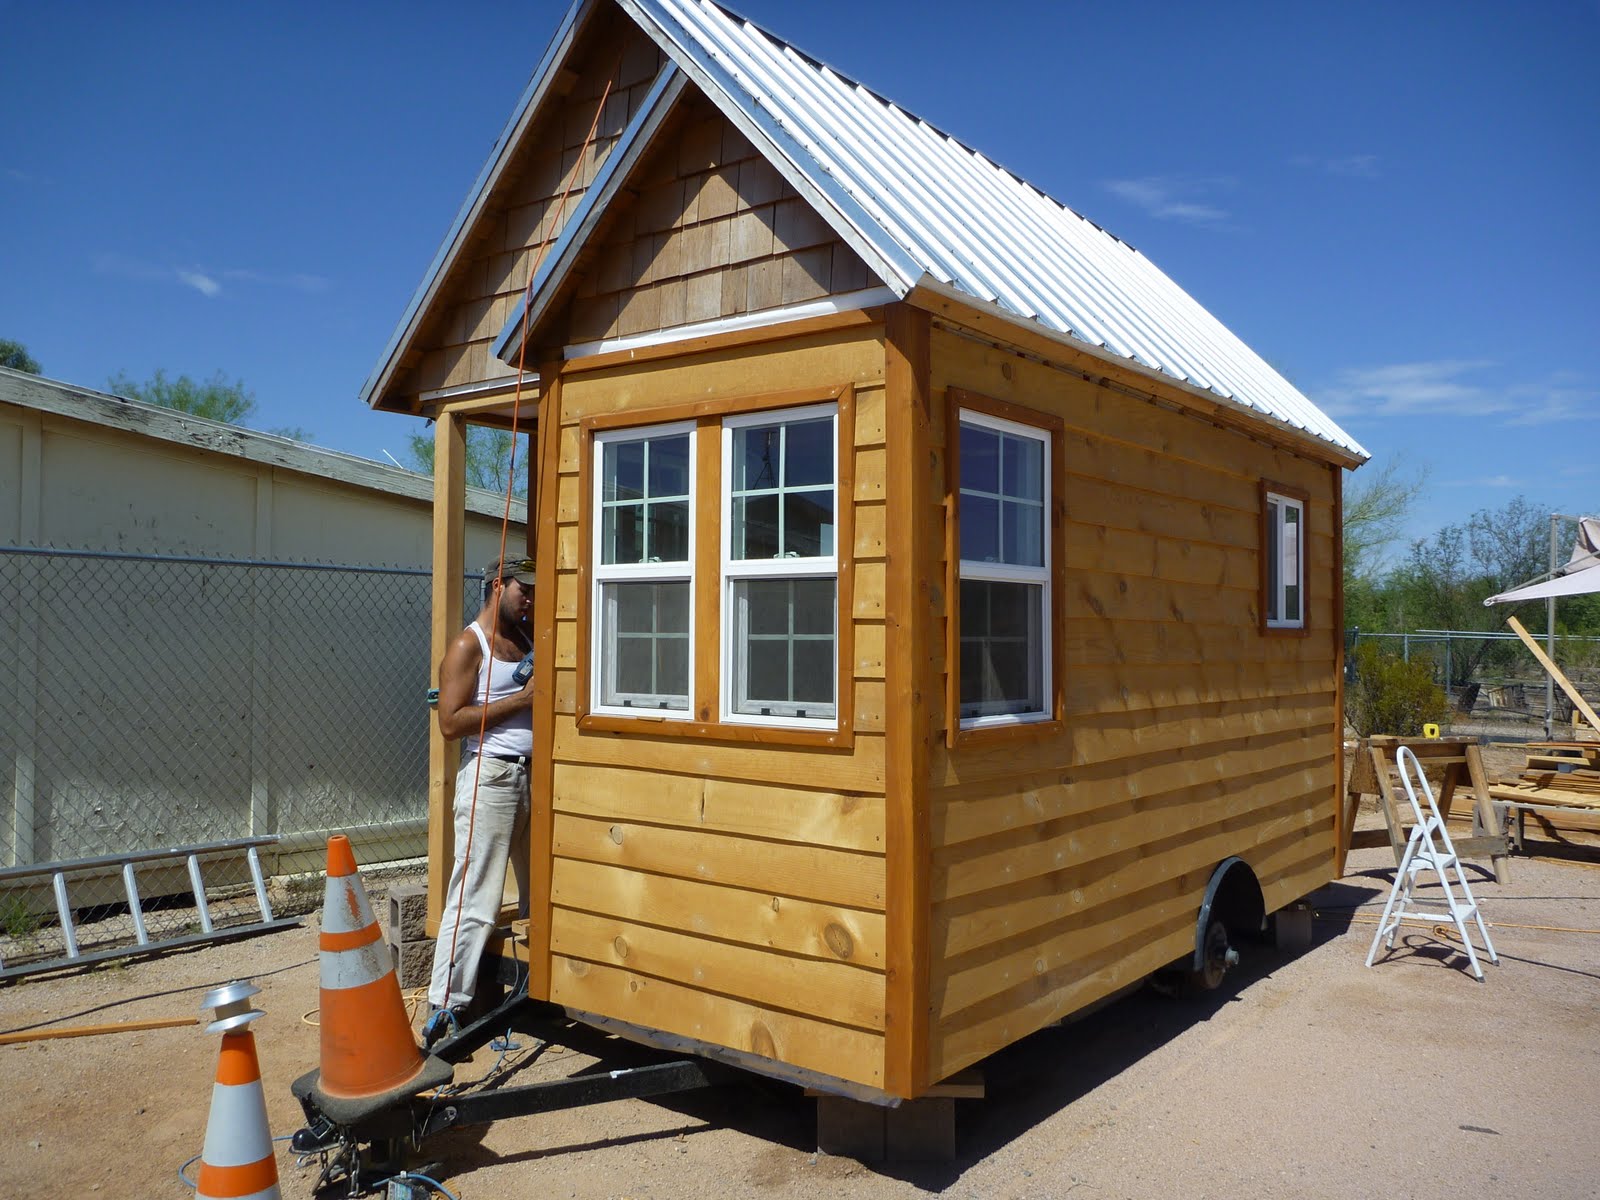
So, here we go, another three months have gone by and the time has come for me to update this blog again.

When we left off, I was still working on attaching the angle iron to the trailer frame. It took over $150 to buy all the right drills and drill bits to get this job done. I got some help from my very good friend and we were able to bolt up the angle iron and move the 5 hurricane ties inside the walls of the house.


I sealed up the holes by cutting a dowel rod of the same diameter as the hole to the proper length, rubbing a wood glue on it, and hammering it into the place where the bolt and tension tie formerly were. After I get the whole thing welded, the job of attaching the house to the trailer will be finished.

Another thing my friend and I did was seal up the walls and the ceiling. There were a lot of places that nails and screws did not go into a stud (especially on the ceiling). In order to make sure those places would not leak, I used Killz paint and white washed pretty much everything. 

Today's Tom Sawyer whitewashes ceilings instead of fences. And, yes, I missed a spot.

We also sealed the floor with Killz, though I may use a different, specific sealer for floors when we get closer to putting the flooring in, I wanted to do preventative maintenance because I don't want the sub-floor getting wet and weakening.

In late December, I bought a truck. I had been searching for a truck that would be able to haul this monstrosity without costing me a fortune for at least 8 months. After checking out a number of real shitboxes, I found a 2003 F350 diesel dually crew cab with an 8' bed for $3,300. I took a look and saw that, while it had a bunch of problems (passenger side door doesn't open from the inside, power locks don't work, power windows will probably go soon, turn signals didn't work, missing tailgate, etc.), none of them were really bad problems. The engine is solid as a rock, the transmission runs smoothly, and the body is straight as an arrow. It also has a tow package including electronic trailer brakes. So, after talking the guy down with all the other problems, I walked away with a diesel truck that will probably run another 100,000-150,000 miles for $2,900. For reference, a 2012 version of what I have retails starting at $35,000 So, woo hoo for that!


Andy fixed the turn signals (by connecting a wire that fell loose. Cost $0) and I will be hopefully sometime soon working with him to fix all of the other problems. We ran the numbers and it's looking like parts will end up somewhere between $700 and $1000, so we'll see how that goes.

Back to the house: I started installing the electrical wiring. I figured out where it was going to go by drawing lines on the walls. I made a few mistakes, but I believe everything is hammered out now. The main lights in the house are controlled by a three-way switch located inside the door and right next to the skylight in the loft. I did this so I could have lights on as I climbed into the loft and didn't have to fumble around in the dark or have to lean way off the edge to flip the switch.

This was the best picture I had. Shameful, right?

I also installed two other switches. One is for the porch light, which is fully operational and looks really pretty. The other will be for an office light when I eventually find a fixture that I like. I also installed light lines all around the house near the loft line in case I need to add more illumination under the loft. For receptacles, I installed 7 receptacles for a total of 14 plugs in the house. I installed one in the loft, one in the bathroom, two in the kitchen, one in the storage area above the door, and two in the office. I will be installing at least one more outlet under the counter to hook up the refrigerator (oh, I got a refrigerator. Andy found one for free!) and an exterior outlet at the rear of the house which will have both the house's input (for when I want to plug into the grid) as well as output for powering things outside. I also hope to have a way to plug the house into my solar panel instead of running a direct wired line outside, but I don't know how to do that just yet...

My next project after that was insulation. I think that it's a really good idea to get the loft and ceiling insulated before summer starts cranking, so I got to work on that. DO NOT use a table saw to cut foam. It will work really well, about 3 times. Then not so well about 3 more times, then the blade will be so gummed up with foam that it will grab the board you're cutting and throw it right back at you. I went through two blades before admitting defeat and just cutting the foamboard with a utility blade (which works just fine, but is a slow process). I have insulated over half of the loft at this point...


...but that's going to be put on hold because of another long process: sanding the underside of the loft.

The wood that makes up the loft is salvaged wood, that much is obvious. I would like to keep this look, but lose a lot of the pencil marks, dirt, and staining that is on the wood, as well as lighten it up to help with illumination in the small space. This process involves full protective gear (respiratory, eye, and ear protection) and I can only do about 5 minutes at a stretch before my arms get tired and it gets difficult to breathe, so this is now my project every night when I get home from work. I hope to work on my truck while the tiny house is tied up in the sanding project. We'll see.

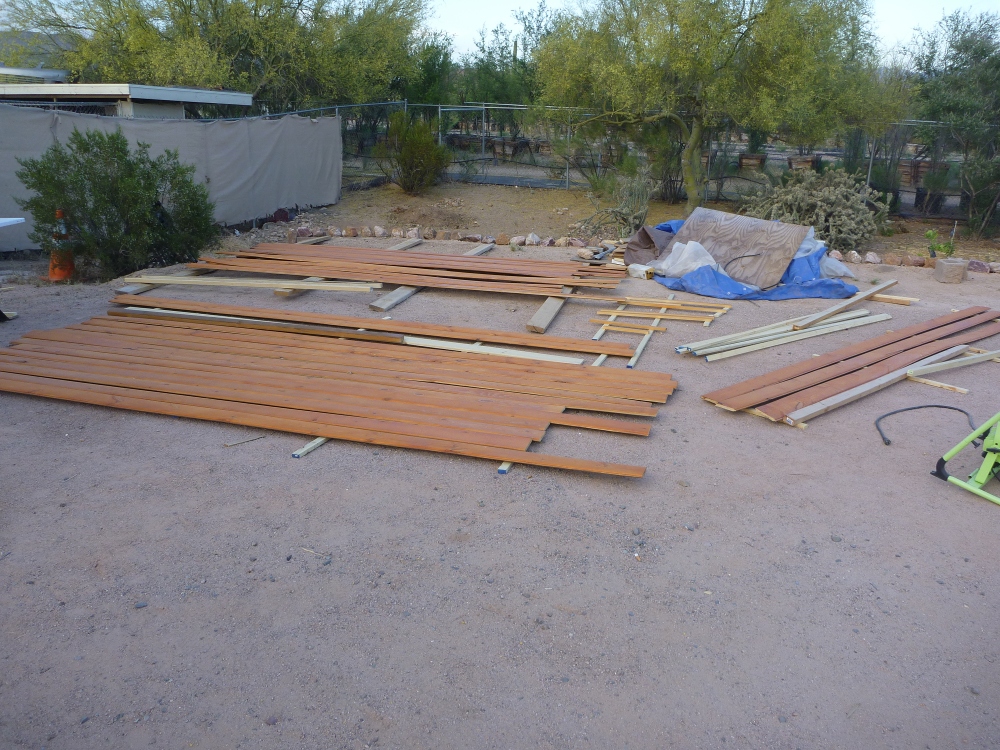
Alright, that's it for now. See you in May. I promise you nicer looking pictures. :P

Thursday, November 24, 2011

Boo!

    Heyyyy, long time no see... again... How have things been? How are the kids? Is Timmy in grade school yet? He just graduated college? ...well this is awkward...

     I'm not going to pretend like I didn't see this coming. I work slowly, constantly shifting around between designer, engineer, researcher, laborer, and resources manager, so it takes a long time for me to produce enough to merit a blog post. This will probably not stop happening, and I'll probably post again in another couple of months. I'm sorry, that's just the way it's going to be.

     Moving on, I believe I have plenty of things to show for this blog post. First off, during this time, we built a tiny garage for the tiny house...


 Things are looking up for 10302 1/2 Brown Rd.

     Okay, it's a shed, but it's nice to have dry tools and a place to think. 

     The first thing I undertook on the house this time was the porch. Both the ceiling over the porch and the deck itself are common redwood. I insulated the ceiling using rigid foam and sealed it with T&G redwood. I really like redwood for these purposes because not only is it stronger and lighter than pine, but it has very distinct and interesting color variations in the wood. I tried to match those up to create a nice effect. Finally, I put in a porch light that I think is really pretty sweet. This was an item that took a lot of looking around to find. Roll film:


     Eventually I will hook that light up to 12v DC and I'll get to have a really nice picture of the porch. Then, after building a tiny rocking chair, I can squeeze some lemonade into a tiny glass and rock back and forth on the porch on a warm summer night. Or I could sit on my stoop...

Stoop Kid's afraid to leave his stoop!

     Andy brought home a demolished gazebo and I salvaged some of the wood to make this remarkably sturdy set of stairs. 

     Now we come to the axle... I knew I had to buy a new axle because the previous one wouldn't handle the new weight I was putting on. So I went to a parts distributer in East Phoenix (45 minutes, one way, easily) and grabbed myself a 7000K 4" drop axle. I get home, Andy shows me how to put it together, we slide it under the frame and... it's too short. 

     Turns out the guy there measured it wrong. There and back again. Get correctly measured new axle, run it home, assemble it, slide it under the frame aaaaaannnnnd... it's too short.

     Take three: Well, this time we all find out, including the people at the parts store, that going from 3,500 and 7,000 decreases the amount of space available to attach the axle to the frame... but only in 4" drop models. Discovering that basically meant these were my options: Get a straight axle, which raises the house up and potentially makes it too tall to legally drive OR get a longer drop axle and be definitely be too wide to legally drive OR choose option C (the nuclear option of these choices) and change the pitch of the roof to make the house shorter. I chose the first option, got home, assembled the axle...

By the way, "assembled the axle" includes hand packing bearings with grease that smells as if McDonalds made a dirty gym sock sandwich.

      ...slid it under the house AND...... it fit perfectly and only raised the house to 13'1", almost half a foot under the legal limit.


     *Ah shit...*

      Folks, that sound means we're about to talk about that one time that Nick thought it would be a good idea to replace the window in the back of his house.

"Oh boy! Installing a window! This is going to be a breeze!" - Me before spending two weeks making the window work. "I am not a smart man." - Me afterwards

     So that window I was talking about in the previous post? I ended up seeing it again, in the clearance rack at Lowes for nearly $200 less than what I had paid for it. Sweet deal. So, a month later it's take two on the octagon window. To make that window fit in the rough opening, I had to block out an octagon from a square, reflash it, mount the window, change the hinges from casement to a MacGuyvered chest hinge, paint it, create and install trim, fur out the walls, cut and install T&G wood, install louvers, and caulk it all up. For the most part, it sucked and was a very exacting process of being repeatedly inhibited by the tiniest problems. But, I did it. I have no pictures of the process at all because I was too busy figuring out how the hell to make the window work. After screwing up each part multiple times and not being confident if I would go through the process at all again, and using the fact that it is the window in the back of the house, I have channeled Lame Pun Raccoon and have dubbed it "The Window of Hindsight." Here are pictures of the finished product.


 Detail

 
 View from up in the loft.

     Finally, the last and most recent occurrence with the house has been needing to attach new angle iron to the frame so that we can move the bolts and hurricane ties that hold the house to the frame into the walls. I bought a 13' piece of 3"x5" angle iron and we used a cutoff wheel to chop it into four 3' sections. One of those has to be bolted and welded into each corner of the frame. This requires drilling through the angle iron (I have to put the drill in the freezer 3 to 4 times for each hole so that it doesn't overheat) and grinding of globs of weld from when the trailer was assembled.

 
 Doing so looks like this.

 In the end, it should look all nice and bolted up like this.

     After I finish that, I have to take it to a welder to get it professionally welded on (as well as welding the new axle together) and I should have a permanent attachment for the house set up and ready to go.
      Well, that's it for this season's edition. I'll see you all in February. Merry Christmas. Happy New Year.

Thursday, September 15, 2011

I am not dead...

...yet.

It's been almost two months since my last post. Sorry I've been waaaay behind on this, friends. Most of July and the beginning of August was monopolized by my job former job. I worked full time Monday to Friday, and that left me only Saturday and Sunday to work. This meant that, if I never took a day off at all, I'd get to work on my house 8 days a month, about 104 days a year.


So, I quit. I was bummed out because it was decent pay and I actually liked my boss (better than my co-workers, which is unusual), but I have no plans on making this house building project last 3-5 years of weekend blitzkriegs. Also, the job was rotting my brain and my body. So, out with that, and in with building the house...

...just after I spend about a month in Chicago and Michigan with friends and family. Hey. I needed a break. I took it. It was marvelous.

Alright, house time...

 
yaaaaaay!

When I last left you, the shakes were still up on the house and I had no door. Times have changed. First things first was taking down all of that ugly, poorly installed, grayed, faded, and moldy shake from the front and back.

The last of the shake goes down

As far as the door goes, it was a nightmare and I have no pictures of the process. Mom had to sand and scrape and strip all of the old paint off of it. The layers of stubborn nastiness would have come off a whole lot easier, but the paint stripper's optimum temperature to work was "between 65 and 85 degrees Fahrenheit." The temperature never went below 100, even at 2am. As an interesting aside, this was around the same time I baked two pans of chocolate chip cookies in my car.

Bake for 3 1/2 hours at room temperature

At the same time, I was ripping apart the old door frame, which was smashed up and would end up being more wood putty than wood by the time I was finished. I opted to build an entirely new frame (as finding an exterior door frame for a 24" door is impossible). After about five coats of paint and two weeks of work, we had a door. Oh, also, I slapped up some new siding where the shakes were formerly busy uglying up the front of the house.


At this point, a new window had been delivered from Lowes. I decided that the slide window at the top wouldn't cut it and wanted something really cool that would also allow me to put my head out of the window and, just in case, be able to crawl out of it in an emergency. I was so excited about the new window that I promptly got to pulling the old window out of the house.

Wheee! There's no way I'm going to regret this decision!

Then I went and actually opened the box with the window inside to take a good look at it. The window, badly marred across the entire face from being shoved into the box, did not open all the way (as I was told it would), was made of dozens of different pieces and grades of wood as to make staining not an option (as I was told it would be), and, here's the kicker, was put together with STAPLES. I felt as if it would fall apart when I picked it up and it indeed already had started falling apart. So, after returning the window, I have a gaping hole in the loft and have basically committed myself to building my own casement window so that I don't have to spend 400-500 bucks on something that wouldn't be valued as a stocking stuffer.

After that setback, I decided to continue with the front by finishing all the movin' and de-shakin' that it so sorely deserved. This involved most of the same processes that the siding required: furring, cutting, staining, etc. Except that the peak was a HUGE problem. The guy who framed the house used a 2x4 instead of a 2x6 as the roof's spine, leaving a 2" square hole in the front that I had up until now been running an extension cord through to get power inside the house. Additionally, had cut everything at such wonky angles that nothing lined up, nothing measured the same in any two spots, and there was all sorts of magic I would have to pull out of my butt to make sure that it didn't end up looking like Jenga blocks.

This shot is about an hour before I had realized all those problems, which is why I'm using the hammer to put boards in place and not to knock my self unconscious

I ended up making everything fit together fairly nicely for all the problems. To even out a bad 2x4 cut the original owner did, I needed a very small block cut on three sides and sanded at a slight angle. Creating this piece was such a tremendous effort on such a small block of wood that a wound that I got a few days prior from striking my index finger with a hammer reopened onto the wood, permanently staining it with my blood.

When I originally was thinking of starting this blog, I wanted to make a counter for how many times I had bled or otherwise injured myself in the process of building this house but I thought there was no way I would injure myself enough to necessitate a counter. I've probably bled about 12 or 13 times now and injured myself another 4 or 5, so this house very much figuratively had my blood and sweat in it. I thought this piece would be the perfect way to literally put my blood and sweat into the house. So I dabbed the block on my profusely perspiring forehead and signed it. I built this house, damn it, and now I've got the block to prove it.


It also just so happens that that block is right at the top of the front of the house. It's basically the keystone. So, I finished things up and hammered it in place.

riiiiight there

And that's it for now. Tomorrow I stain the remainder of the front and start in on another project. See ya'll later!

Sunday, July 17, 2011

Just Pictures


Okay folks. I'm not really up to doing a whole bunch of text today. In return, here are a lot of pictures. Sounds good? Great. I'm going to go grab a soda. You enjoy.


Saturday, June 11, 2011

Yes. Yes. And More Yes.

Story:

So, yes, I know I haven't posted in almost a month. I am sorry. I have not, how ever, been just sitting back and relaxing for the past 20 or so days. I forget where I left off, and am very tired, so this post will be quick but very rewarding.

First, I had to get a table saw. I did that, total success.


My my, what a sexy table saw.

Then we spent a week worrying about killing or maiming ourselves using the table saw.

I also spent a lot of time that week complaining how 
it was hotter outside than Satan's crotch.

Then we got back to work.

The first thing we did was run five 4”x4” boards through, cutting a 2”x2” strip out of them and making really good looking cornerpieces. We put those up to frame the house. With cornerpieces this nice, I realized that the previous window treatment I did looked comparitavely crappy. So, I did a little demo on the house (it's not even close to done yet and I'm already doing improvement projects), ripped some 2”x4” boards in half, sanded, beveled and stained them to create really nice window trim.

Finally, we started cutting and dadoing the boards. There are no pictures of this because running a 150” board takes all three of us to do. Cutting out the wheel wells with a jigsaw proved to be the most annoying to get correct and have the least margin of error.

This makes it look about 1000x less tedious than it was.

But we did it. We worked our asses off, I fell asleep three times sitting up because I was so tired, and I accidentally dropped a small board in between the siding and the wall at the end of the day (a mistake which I have absolutely no chance of rectifying), but we got it done. I present to you, the progression of the siding:

Looking good...


Almost...


Taking a short break to do pull ups on the door frame...


HELL YEAH!

Awwww yeaaaah. I am so happy not to have a giant advertisement for TYVEK TYVEK TYVEK TYVEK in the yard. I'm probably going to stain the boards the same or a little darker color than the cornerpieces and trim are, so it's not a totally finished look yet, but I'm very happy. Even better, we're 5 boards up on the opposite side and still have another day left in the weekend!

Well, there you go. Hope you enjoyed the pics.

***

Schematics:

We put the boards up using 3” hot dipped galvanized casing nails along the run and 3” red decking screws along the sides. The nails hold up just fine, the screws are there for extra strength because the ends of the boards don't match up with a stud. There's no glue behind these boards. I have come to discover that using glue is a very, very stupid idea. Mr. Ed disapproves of such methods.
 
We used nylon mesh screen at the bottom of the boards to make sure no creepy crawlies run up in there. We folded it under and over the furring, making it effectively one long screen.

Using dadoed or bevel siding is really nice because it gives you a wiiiiide margin of error if the board is crooked/wobbly/screwed up because of human error. Tongue and groove does not have this luxury.

Using furring strips serves a few purposes. It helps you see where the stud is inside the house so you can effectively secure the boards. It also adds an air space between the siding and sheeting. This helps with condensation and rain (they drip out the bottom as opposed so waterlogging the wood.) as well as provides much better insulation (the rate of heat transfer is much worse in air than it is in a solid.). Just make sure to use furring under everything (including the window trim and the cornerpieces) so that everything sticks out the right amount.

It's a good idea to use a block to make sure you're drilling the holes in the same spot on each board. Use a scrap piece of 1"x2" furring so that you can consistently put the nail in 1 1/2" above the bottom of the board. This just helps it look nice.

Use a nail punch to get the nails sunk into the board and then cover up the tiny spot with paintable wood putty. Leave about 1/8" on either side of the board (where it butts up to any trim or cornerpieces) so that you can caulk it. Too snug, and the caulk will peel off. Too loose, and you'll use gobs of caulk to fill it in.

Alright, that's it for now. I'm going to sleep so I can wake up early and get at it tomorrow.

Tuesday, May 17, 2011

Title goes here.

Story:

There isn't a whole lot more to update folks on right now. Due to my new job, I only have two days a week to work on the tiny house, so updates may become even more sparse than they have been. In order to stay updated but not have to check in and be disappointed a whole bunch with no new content, I suggest subscribing to the blog :D

Two things happened of import in the past week; One tiny house related and one not so much. The not so much part is that I finally received my diploma from Evergreen. Hooray! I guess! It's certainly the most expensive piece of paper I've ever held. With my receipt finally in hand, I am officially finished with college.

Second, I've gotten the new rough sawn pine for the exterior siding and have been working on getting that ready to go. They were really dirty, so I had to powerwash them all down. They all cleaned up beautifully and are now looking really nice. As an added bonus, because they were sitting outside in Arizona for 2+ years, they had already acclimated to the hellish heat out here and, after a good wash, returned right back to being straight as an arrow.


After that, they'll require sanding, notching (which means using a table saw (which I need to acquire) equipped with a dado blade with a 3/8" kerf to cut out the notches to turn the boards from this into something like this.

Schematics:

I'd like to point out here that Tumbleweed Tiny House Co. founder Jay Schafer claims that he has built a dozen small houses using only 14 tools. They are: Skill saw, jig saw, pliers, files, miter saw, hammer, wrench, goggles, tape measure, drill and drill bits, pencil, box cutter, level, chisel. He adds a caveat about how people call him "a fool for not using a table saw". I agree. Here is a list of other tools I have needed/been greatly aided by in my construction up until this point (which involves almost nothing in the overall picture of building a tiny house):
 
1. Brushes - He lists "pencil", but not brushes? Am I to believe that he used no stain on any of the exterior boards of his house? Or, since it's obvious that he has used stain, that he took a big swig of Olympic Semi-Transparent and spat it all over the boards until achieving a nice, even finish? I find this prospect unlikely.

2. Nail punch - I realize that he mostly uses screws for outside construction, but he does mention nails for finishing work. And, unless you want to have nails sticking out all over the place or have a bunch of hammer dents in your finishing material, you damn well need a nail punch. Or perhaps he just got a really really hard pencil and used that. 

3 & 4. Painter's mask or bandanna and gloves - Eye safety, but nothing to stop yourself from inhaling particulate matter or your hands from getting torn up?

5. Sandpaper - Come on. Everything you bought could make a baby's butt look like crocodile skin?

6. Orbital sander - I'm not sanding 1200 lineal feet by hand.

7. Caulking gun - If you refer to the "screw and glue" method, I hope you're not referring to Elmer's glue. Liquid Nails, the only stuff even worth using for structural applications, will only come out of a caulking gun. I'm assuming I'll need that again when I work on the bathroom and the sink).

8 & 9. Car jacks and jack stands - Pretty important, especially if you can't complete the house in a month and it needs to sit out for a long time (and flatten the tires so you have problems on a long trip, something which I have absolutely no experience with whatsoever :| )

10. Corded drill with high speed steel drill bit - This is the only way that I know of to get through the angle iron of the trailer to bolt the house down.

11. Razor scraper - A very easy way to undo a bit of overzealous caulking.

12 & 13. Power washer and spray gun for stain/paint - Admittedly a luxury item, it can make life very easy. However, when using a spray gun, use only oil based stains. Water-based paint or stains screw up the gun and leave a bunch of spotty water marks on your boards.

I've almost doubled the list right there and my house is barely more than a wood box right now.

Sunday, May 8, 2011

Wood, Poop Stain, Fire, and a Cowboy

I've decided to split the tiny house portion of this blog into two parts. One, more interesting to my friends, will be the story. The second, more interesting to those with the crazy notion of building a tiny house themselves, will be dedicated to schematics. Aaaaaaaaannnnnnd go:

Story:

I've spent the past week preparing to put up the siding. Since I can't very well operate miter saws and sanders at 5 am, today's bounty of work begins with a nice, relaxing cup of coffee.

picturesque

The siding we got, after much hunting and searching, was 1x6 tongue and groove ponderosa pine. It cost between 60 and 75 cents per lineal foot. I really wanted a lap siding, particularly cedar, but that cost about $1.50 a lineal foot, so it was kind of out of the price range. Anyway, we trucked it home from west Phoenix (an hour each way) and commenced with sanding and staining and sanding and staining and sanding and staining.

lots of this type of action went down

First we got a "Semi-Transparent" stain called "Light Mocha". That went over about as well as the Hindenburg.

ew.

By "Semi-Transparent", it appears the manufacturer meant "Mostly-Opaque". Also, by "Light Mocha", they must have meant "Poop Stain". These are easy mistakes to make as I'm sure the factory is a busy and hectic place. I do not blame them. Reality is subjective anyway.

To remedy this eyesore, we ended up using the garbage stain to seal the back of the boards, grabbing some "Toner," and trying that for the front of the boards. Result:

urge to kill... falling... falling... gone.

Pretty boards! I am happy. We finish every last one and are ready to go. Then, this morning at about 1 am, I found this Craigslist posting:

WOOD SIDING - $7

This siding is brand new rough sawn pine. Each board is 13' long
I am selling them for $7.00 each.

image 0
pictured: exactly what I wanted... two weeks ago.

This stuff is beautiful. I stay up all night over it and kick my feet in the dirt a bit before mom suggests I call the guy because I'm going to have to live with whatever I put up and if this stuff is perfect, I'll never like the other siding again. Turns out the posting is from some very cowboy-sounding person named Ken (henceforth referred to as Cowboy Ken). Well, Cowboy Ken actually cut down the trees and milled this lumber himself. Much later on in the day, I went over to look at the samples of the stuff he had (which was in the form of a massive barn that could fit three of the tiny houses in it along with extra room for some horses, a few shotguns, and a mess of spittoons. It's gorgeous. End of the story, we're getting it Thursday and I'll spend all weekend with mom re-milling and staining the new siding. I'm not sure what we're going to do with the pile of newly spurned siding in the yard.

fail. so much fail.

So I focused today on continuing to frame out and fur the house. I have one wall totally completed. I will take a picture and upload that tomorrow.

I made a few mistakes here and there. Okay, quite a few mistakes...

oops.

But, overall, I think I did a pretty good job at this stuff. We'll see how the new siding works out, but not very soon, because tomorrow I start my new job! This way, I can work five days a week to make money so I can spend it on materials to use in the other work I do the remaining two days of the week.

WHEEEEEE!

Finally, one really cool thing I did was download Google Sketch Up so I can make a 3D model of my house and try out ideas before I commit to them. Also, having a set of visual plans reaaaaally helps in this process (By helps, I mean is absolutely 100% indispensable). Here are a few screen captures from what I've been able to put together so far:


the program comes with a free flatlander!

Anyway, I think that's it for right now. I'll fill you all in when I get the new siding this upcoming week. SPOILER ALERT: More staining. Right now, I'm going to go sit by a fire and summon flame dragons to destroy my enemies.

welcome back, my sweet. there is work to be done.

Schematics:

(Work in progress. Will finish tomorrow when I have more pictures.)

To help other folks get an idea of what I've done and if any other tiny home builders stumble across this blog looking desperately for help (there's not a large amount of nuts and bolts info out there, certainly not for free), here is what's going on in this picture:

1. DuPont Tyvek HouseWrap: This provides a vapor barrier so that moisture outside can't get inside, but moisture inside the walls can get outside of them. This helps reduce condensation in the finished house. That's important because, in a tiny space, condensation happens very, very fast (Think sexy time in a car. Windows fog up immediately. If you're doing it right :P). There are free instructions online here about how to properly put up Tyvek HouseWrap. I didn't put it up myself, so I don't know how well they were followed initially, but I know I've definately gone over the 90 days they suggest as a maximum to leave the Tyvek wrap exposed. It'll be covered up soon enough.

2. Furring: These are designed to place air between the siding and the housewrap. This provides better insulation as well as helps the house "breathe." I used 1"x2" furring strips available at Home Depot or Lowes. It is a consistant battle to find any decent stick of wood in Arizona because the dry heat and the sun sucks all the moisture out of the wood and warps it instantly. For example:

top: hockey stick       bottom: lock pick rake

So make sure you check every board you get. This goes double for siding and long finishing boards. A warped board sucks to work with. And if you live in a hot, arid climate, stain the boards IMMEDIATELY to make sure they don't warp on you. I mean it. 5 days in the sun is TOO MUCH.